تفاوت ها و کاربرد های Zero Locking – Zero Resetting – Zero Stopping

تفاوت ها و کاربرد های Zero Locking – Zero Resetting – Zero Stopping

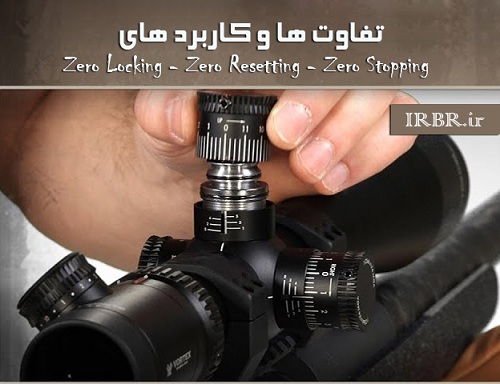
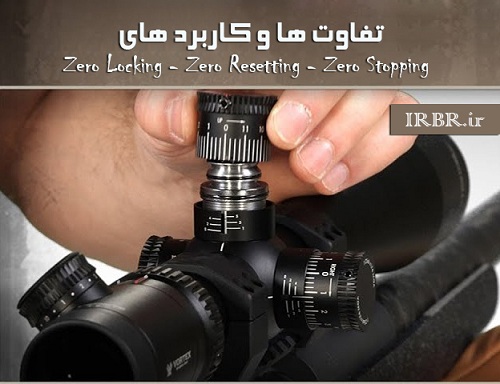
RESETTING THE TURRET INDEX TO ZERO After adjustments have been made during the sighting-in process, you can reset the turret to zero if desired, by following the steps below: 1. Ensure the turret is in the locked position (Fig. 1). 2. Use the provided Allen wrench to loosen all 3 set screws around the top cap of the turret cover, being careful not to remove the set screw completely (Fig. 2). 3. Reposition the turret cover, so that the “zero” mark lines up with the vertical index line on the turret (Fig. 3). 4. Re-tighten the 3 set screws, making sure the turret knob does not shift its position while tightening the screws. Avoid overtightening. Push the turret back down to the locked position (Fig. 4).

USING THE Z-LOK™ (ZERO STOP) 1. After obtaining a good zero on your rifl e at 100 yds, use the provided Allen wrench to loosen all 3 set screws around the top cap of the turret cover, being careful not to remove the set screw completely (Fig. 5) 2. Remove the turret cover and set it aside (Fig. 6). 3. Loosen the three Allen set screws found on the perimeter of the brass inner locking ring 1½ turns (using the provided 1.5mm Allen wrench) (Fig. 7). These screws are “captured” in the Z-Lok ring so that they cannot be completely removed and dropped or lost. Ensure the screws are loosened far enough for the Z-Lok disk to “bottom out” before you turn it in the next step. 4. Turn the Z-Lok disk clockwise (Fig. 8) until it contacts the fi xed pin in the bottom of the turret (Fig. 9). 5. Tighten the three set screws in the Z-Lok disk to 2 inch lbs (Fig. 10) (do not overtighten). Your zero stop is now set. 6. Re-index the turret cap to zero, replace the turret cover, and re-tighten the turret cover set screws.


